DIY Hair Masks That Work: Simple Natural Recipes and Salon-Approved Care Tips
DIY hair masks are concentrated, natural treatments you can make at home to nourish strands, hydrate dry ends, and calm the scalp using whole-food ingredients and plant oils. They deliver lipids, proteins, and humectants that help lock in moisture, repair fragile cuticles, and support scalp circulation — which over time means shinier, stronger hair with less breakage. This guide breaks down how masks work, how to pick the right formulas for dry, damaged, or thinning hair, and when it’s smarter to move from at-home care to a salon deep-conditioning or keratin service. Inside you’ll find step-by-step recipes for hydration and growth, easy ingredient science for kitchen staples like avocado, coconut oil, honey, and eggs, plus stylist-approved routines to keep results between salon visits. We also include quick-reference tables, a decision matrix for when to seek professional help, and practical tips tailored to Bethesda, MD. Read on for recipes, how they work, recommended frequency, and when to consult Ruth at Kylie Studio Salon for salon-level results.
Best Homemade Hair Mask Recipes for Dry or Damaged Hair
A strong homemade mask for dry or damaged hair pairs a fat source to seal the cuticle, a humectant to draw in moisture, and a protein- or vitamin-rich ingredient to support repair. Together they restore flexibility, reduce porosity, and make combing easier — giving instant softness and gradual strengthening with regular use. Below are three reliable recipes that balance hydration with gentle protein so fragile hair isn’t overloaded. Each includes simple measurements, application steps, and the expected benefit so you can pick what fits your hair right now.
Natural Ingredients That Nourish and Repair Dry Hair
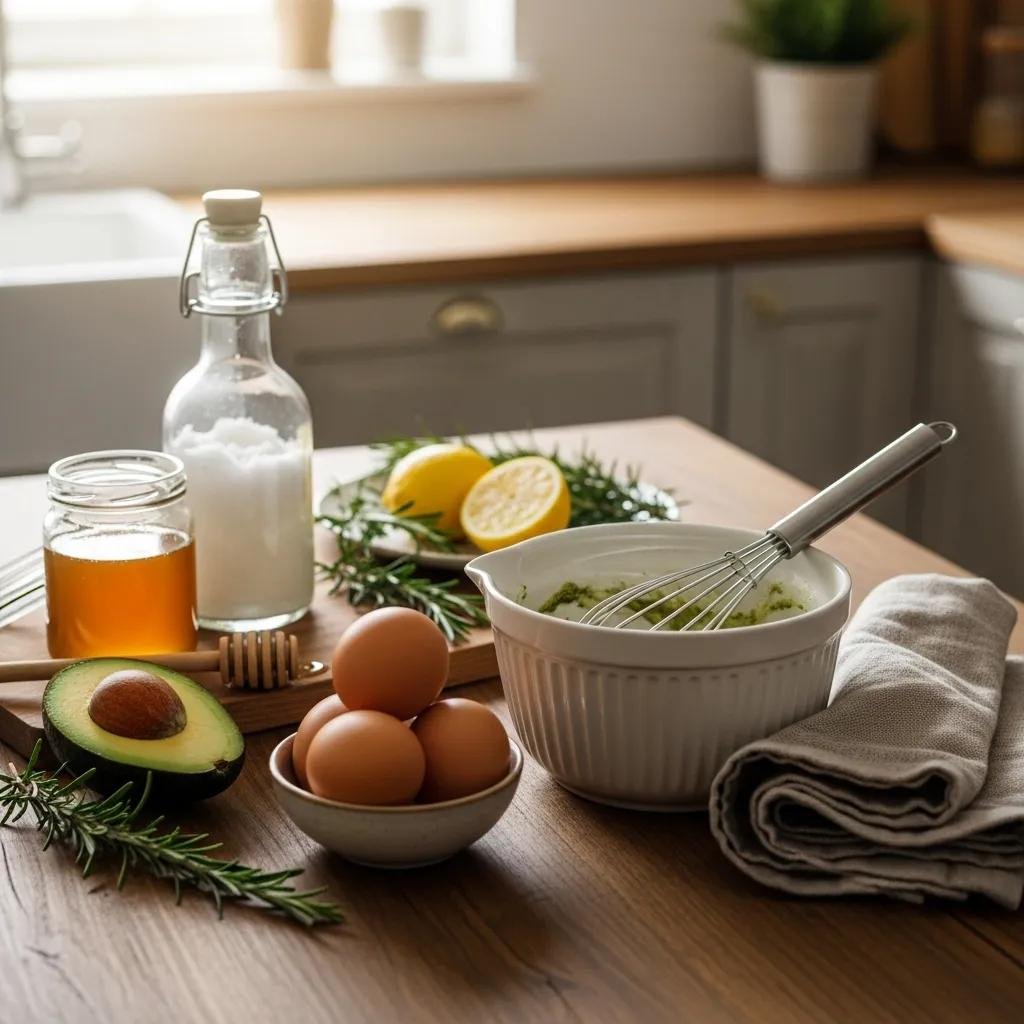
Common kitchen ingredients—avocado, coconut oil, honey, eggs, yogurt, and olive oil—each play a specific role in repairing dry, damaged hair. Avocado brings monounsaturated fats and vitamins A, D, and E to replenish lipids and soothe brittle ends. Coconut oil penetrates the hair shaft to reduce protein loss and boost shine. Honey is a natural humectant that attracts and retains moisture, while eggs provide albumin protein to temporarily strengthen the cuticle. Yogurt adds mild lactic acid for smoothing, and olive oil’s oleic-rich profile conditions without heavy buildup when rinsed well. When blending these ingredients, a small amount of conditioner helps emulsify for even application — and always patch-test if your skin is sensitive.
Use the comparison table below to see what each ingredient contributes and the hair results to expect when you add them to masks.
That table shows how ingredient choice maps to outcome. Use it to mix masks that address your main concern rather than tossing every kitchen item into one blend.
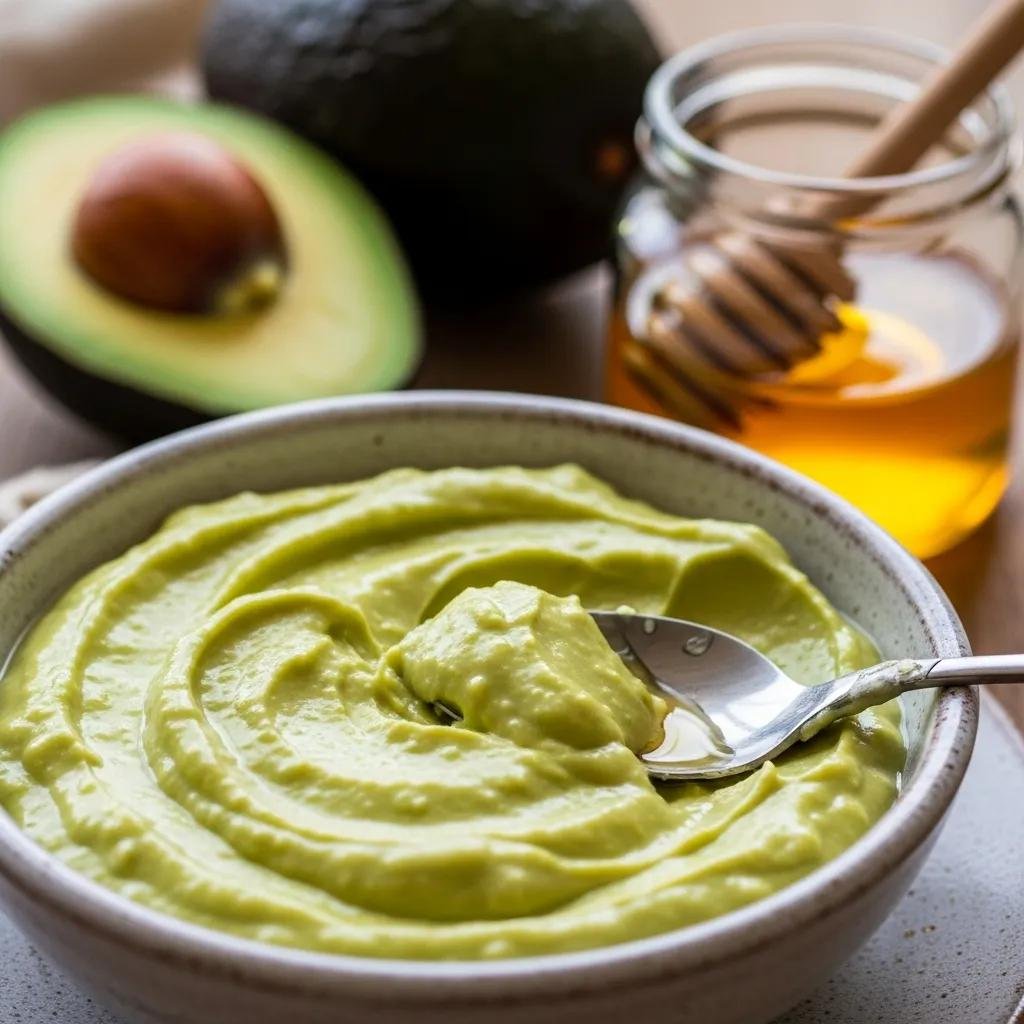
- Avocado + Honey Hydration Mask: Mash 1 ripe avocado with 1 tablespoon honey and 1 tablespoon olive oil. Apply from mid-lengths to ends for 20–30 minutes, then shampoo and condition. Ideal for coarse or curly hair in need of deep moisture.
- Coconut + Egg Protein Mask: Whisk 1 egg with 1 tablespoon melted coconut oil and 1 tablespoon plain yogurt. Apply to damp hair, cover for 15–20 minutes, rinse with cool water and a gentle shampoo. This boosts structure and helps reduce protein loss in weakened strands.
- Olive Oil Overnight Repair: Warm 2 tablespoons olive oil, massage into dry ends before bed (use a towel on your pillow), and shampoo in the morning. Use every 1–2 weeks for intense smoothing on very dry or chemically treated hair.
Gentle heat — a warm towel or brief blow-dry — helps ingredients penetrate, but avoid high heat that can denature proteins. The next section explains application and rinse techniques to get the most from each mask.
If home masks don’t fully restore your hair, a salon-grade deep conditioning treatment can speed and deepen repair. Kylie Studio Salon in Bethesda, MD offers professional Deep Conditioning Treatments designed to rebuild moisture and manageability more effectively than a single at-home mask. For persistent breakage or chemically weakened hair, contact Kylie Studio Salon or call 301-922-7864 to schedule a consultation and find out whether an in-salon protocol is the right next step.
How DIY Hair Growth Masks Support Stronger, Healthier Hair
DIY hair growth masks help by improving scalp circulation, delivering proteins and micronutrients near the follicle, and preventing breakage that limits visible length. They don’t force faster follicle turnover; instead, they create conditions that reduce shedding and strengthen shafts so you retain more length. Masks that combine circulation-boosting ingredients (diluted essential oils), occlusive oils, and light proteins can reduce breakage and support thicker-looking hair over months. Below are key ingredients and a practical usage cadence to build a realistic growth-support plan at home.
Key Ingredients for Naturally Supporting Hair Growth
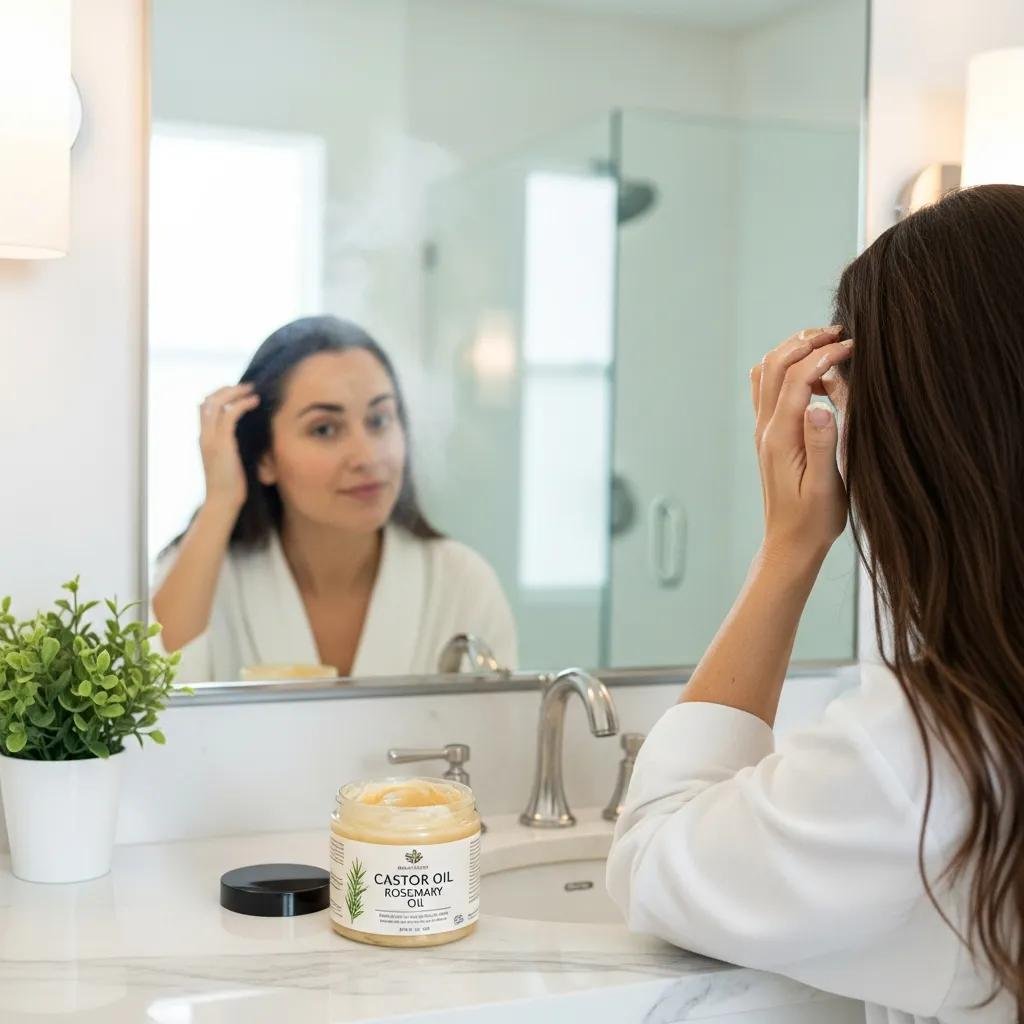
Certain oils and botanicals are commonly used to support scalp health and follicle function: castor oil, rosemary essential oil, caffeine extracts, and protein-rich ingredients like eggs. Castor oil’s ricinoleic acid can help thicken the shaft when used as an occlusive pre-wash treatment. Rosemary oil, when properly diluted and massaged into the scalp, may improve microcirculation. Caffeine topicals and biotin-rich foods support pathways linked to keratin production, and egg proteins temporarily strengthen fragile hair to reduce breakage while hair grows. Always dilute essential oils to safe levels (generally under 2% in a carrier oil) and use scalp massage to maximize circulation benefits.
Refer to the growth-ingredient table below for mechanisms and recommended use.
This table shows that growth-focused ingredients work indirectly — protecting hair and supporting scalp health — so masks are one part of a broader routine.
Recommended Frequency for DIY Hair Growth Masks
Balance protein and humectant treatments with lighter oil or scalp-stimulating masks to avoid buildup or over-proteinization. For most people: aim for one protein-focused mask every 7–14 days, a moisturizing mask every 1–2 weeks depending on dryness, and light oil or scalp-stimulating treatments 1–2 times per week as needed. Too much protein can make hair stiff and prone to breakage; too much heavy oil can weigh strands and look greasy. Track progress with monthly photos and mid-shaft breakage checks; if shedding or thinning persists despite consistent home care, schedule a professional assessment.
If thinning continues or structural damage limits progress, consider an in-salon consultation — Kylie Studio Salon can evaluate scalp health and hair integrity and recommend whether deep conditioning or keratin protocols are appropriate.
When to Choose Professional Hair Treatments Instead of DIY Masks
At-home masks are great for upkeep and mild-to-moderate repair, but professional salon treatments are the better choice when damage is structural, chemical processing has compromised fibers, or you need long-lasting smoothing and manageability. Salon services like deep conditioning and keratin rebuilding use higher-grade actives, controlled heat, and trained application to deliver more durable results than a single DIY session. Use the checklist below to decide when to escalate: persistent breakage despite regular care, severe porosity with tangling, or scalp problems that may need medical attention all point to a professional evaluation. After the checklist you’ll find a decision table that matches severity to recommended salon services.
Signs you should seek a professional assessment:
- Excessive breakage: more than a little hair coming out when you detangle wet strands.
- Chemical damage: uneven porosity or brittle ends after coloring or bleaching.
- Persistent thinning: visible scalp or a widening part that doesn’t improve with home care.
- Scalp issues: redness, long-lasting itchiness, or flaking that home remedies don’t help.
These indicators show when DIY alone is unlikely to get you back to healthy hair and when salon services can restore both look and function.
Limitations of At-Home Masks for Severe Damage
At-home masks improve moisture and short-term manageability but can’t replace controlled salon procedures for structural protein replacement or long-lasting smoothing. DIY methods can’t replicate professional keratin protocols or salon-grade deep-conditioning formulas that use specific molecular weights and heat-activated delivery to bond proteins and seal cuticles. Attempting major chemical fixes at home risks compounding damage without a stylist assessing porosity and processing history. For predictable, safe results, a professional evaluation will identify whether rebuilding treatments, a tailored maintenance plan, or gradual corrective services are needed.
How Deep Conditioning and Keratin Treatments at Kylie Studio Salon Improve Hair Health
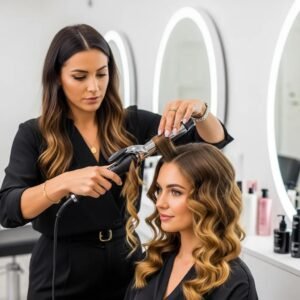
In-salon deep conditioning uses concentrated reparatives plus controlled heat to push conditioning molecules into the hair shaft, producing measurable gains in softness, elasticity, and shine that outlast a single home mask. Keratin treatments smooth the cuticle and reduce frizz by temporarily bonding keratin-based compounds to the hair surface, improving manageability for weeks to months with proper aftercare. At Kylie Studio Salon, these services are recommended when home care can’t reach your goals for structural repair or long-term smoothing. A consultation with stylist Ruth will outline expected maintenance and how to adapt your home routine after treatment. Call 301-922-7864 to book a consultation or discuss which professional option fits your hair history and goals.
Stylist-Approved Tips for Keeping Hair Healthy at Home
Healthy hair is built on consistent, simple habits that support both salon treatments and DIY work: choose a gentle sulfate-free cleanser when possible, protect from heat with a barrier product, and trim regularly to remove split ends before they travel up the shaft. These daily and weekly practices cut down on friction and mechanical breakage, protect color and keratin bonds, and help moisturizing and protein masks stay effective longer. Below are practical routines you can start right away.
- Gentle cleansing: Use a sulfate-free shampoo for your hair type and rinse with lukewarm water to protect the cuticle.
- Condition strategically: Apply conditioner to mid-lengths and ends; skip heavy conditioner at the scalp if your roots get oily.
- Heat protection: Always use a heat protectant before hot tools and limit high-heat styling to reduce cumulative damage.
- Regular trims: Get trims on a schedule to remove split ends and maintain shape — this prevents splits from worsening.
How to Add DIY Masks to a Balanced Routine
Schedule masks around your wash-and-style pattern: use heavier oil-based masks as a pre-shampoo treatment, apply protein masks post-shampoo on damp hair for even distribution, and use light hydrating masks between washes to refresh moisture without buildup. If your color is treated, prioritize humectants and antioxidants and avoid too much protein that can change texture; for oily scalps, keep masks on mid-lengths and ends and use a clarifying shampoo monthly. A sample plan: a weekly moisturizing mask, a biweekly protein touch-up, and occasional oil infusions before deep conditioning or salon visits. This cadence minimizes overuse and keeps hair responsive to both home care and professional services.
Environmental Factors in Bethesda, MD That Affect Hair Care
Local climate and water quality influence product choice and treatment frequency. Summer humidity can increase frizz and call for anti-humidity barriers, while winter’s dry air often means more frequent hydrating masks. Hard water deposits minerals that make hair feel rough and dull; occasional clarifying shampoo use removes buildup but should be balanced with restorative masks to avoid overdrying. Urban pollution and UV exposure weaken cuticles and color molecules, so add antioxidant-rich masks and UV-protectant styling products, and consider deeper salon conditioning after seasons of high exposure. These tweaks help both DIY and salon results last longer — and a stylist can tailor timing to seasonal changes.
Customizing DIY Hair Masks for Different Hair Types and Concerns
Customize masks by choosing lighter or richer bases, adjusting protein levels, and changing where you apply the product to match density, porosity, and scalp needs. Fine or oily hair does better with lightweight oils (argan, jojoba) and humectant-focused masks applied sparingly near the roots; coarse or curly hair benefits from richer oils (coconut, avocado) and longer leave-in times on the ends. Use the decision matrix below to pick ingredients for your hair type and goals so you can personalize recipes safely and effectively.
Best Ingredients for Frizzy, Oily, or Sensitive Scalps
Pick ingredients by function: frizzy hair needs sealing oils and humectants to smooth the cuticle; oily scalps benefit from lightweight balancing agents like aloe or diluted apple-cider vinegar substitutes; sensitive scalps respond best to calming botanicals such as aloe vera or plain yogurt. Avoid strong essential oils or undiluted vinegar on inflamed skin and keep contact times short on sensitive scalps. For frizz control, mix a small amount of coconut or olive oil with honey; for oily roots, concentrate masks on mid-lengths and ends and use a clarifying pre-wash if needed; for sensitivity, keep masks to 10–15 minutes and choose hypoallergenic bases.
How to Adjust Mask Recipes for Your Hair
Scale recipes by halving for shoulder-length or fine hair and doubling for long, dense hair. Swap allergens — for example, replace egg with yogurt or mashed banana — and always patch-test new blends behind the ear or on the inner forearm. If a mask feels too heavy, rinse with a clarifying shampoo and increase clarifying frequency to prevent buildup. Use this simple troubleshooting approach: if hair feels straw-like after protein, reduce protein frequency and add humectants; if the scalp itches, stop the mask and test ingredients one at a time to find the irritant.
These customization tips help you refine a routine that supports strength, shine, and manageability. For hands-on guidance, book a consultation at Kylie Studio Salon — stylist Ruth can recommend a home-care plan and any professional services you may need.
Frequently Asked Questions
1. Can DIY hair masks be used on color-treated hair?
Yes. DIY masks can be great for color-treated hair when you choose the right ingredients. Favor hydration and nourishment — honey, yogurt, and avocado are good choices — and avoid frequent heavy protein treatments that can change texture. Patch-test new blends and watch how your color and texture respond.
2. How can I tell if my hair needs more moisture or protein?
Look at how your hair behaves: dry, brittle, or rough-feeling hair usually needs moisture. Limp, overly stretchy hair that breaks easily often needs protein. Alternating moisturizing and protein-rich masks and observing the results is a practical way to find the right balance.
3. Are there risks to using essential oils in hair masks?
Essential oils can help, but they must be diluted in a carrier oil to avoid irritation. Always patch-test before applying to the scalp. Potent oils like peppermint or tea tree can cause reactions in sensitive people — stop use if irritation appears and consult a pro for alternatives.
4. How can I make my DIY masks more effective?
Use gentle heat during treatment — a warm towel or shower cap helps ingredients penetrate. Apply the mask evenly, focusing on mid-lengths and ends, and finish with a gentle rinse and light conditioner to seal the cuticle.
5. How do Bethesda, MD’s environmental factors affect my routine?
Humidity, temperature, and water quality in Bethesda affect hair care choices. High humidity increases frizz and may call for anti-humidity products; cold, dry winters need more hydrating treatments. Hard water can cause buildup — use clarifying shampoo occasionally and follow with restorative masks. Tailor timing and products to the season for best results.
6. What should I do if a DIY mask causes an allergic reaction?
If you have a reaction, rinse the mask out with lukewarm water right away. Soothe the area with aloe vera gel or a gentle moisturizer. If symptoms continue or worsen, seek medical advice. To prevent future reactions, always perform a patch test with new ingredients.
7. How can I store leftover DIY hair mask ingredients?
Store leftovers in an airtight container in the fridge for up to a week, depending on ingredients. Avocado and yogurt spoil faster, so use them quickly. Check for spoilage before reuse. For longer storage, freeze mixtures in ice cube trays and thaw small portions as needed.
Conclusion
DIY hair masks are a powerful, customizable way to add nutrients, moisture, and protection to your routine. With the right ingredients and frequency, you can see real improvement in strength, shine, and manageability. If you want personalized advice or professional repair, schedule a consultation at Kylie Studio Salon — we’ll help you match salon services and a home routine that work together. Start experimenting with these recipes and tips, and enjoy healthier hair every day.

