Best Automatic Curling Irons — A Stylist’s Guide to Salon-Quality Curls at Home
Automatic curling irons — sometimes called self-rotating curlers or auto curlers — simplify the wrap-and-time part of styling so you can get repeatable, salon-like curls with less fuss. This stylist-led guide breaks down how these tools work, which 2024 models stand out, and how to pick the right curler for your hair type and skill level while keeping hair healthy.
At-home styling often struggles with uneven results, heat damage, and long styling sessions. Automatic curlers address those problems through chamber or rotating-barrel mechanics and built-in safety features that standardize wrap size and timing. In this article we cover: what the devices do and why automation helps; our top-rated automatic curlers for 2024 with stylist takeaways; how to match features to hair and ability; pro prep and finishing methods for longer-lasting curls; and when a visit to Kylie Studio Salon is the better option.
We also weave in practical search terms like automatic curling iron, self rotating curler, easy hair curler, and automatic curler for beginners so you can find the right tool and technique for salon-quality curls at home.
What Are Automatic Curling Irons and How Do They Work?
Automatic curling irons are heat-styling tools that pull hair into a chamber or use a motorized barrel to form curls without manually winding the hair. In practice, a motorized rotation or a guarded chamber wraps a measured section around a heated surface, runs a timed heat cycle, then releases the curl when the cycle ends. That automation reduces user variability and speeds up styling. The real benefit is predictability: automatic curlers standardize section size, rotation direction, and dwell time to create consistent curls that mimic professional results while cutting down on hot-iron mishaps. Knowing this helps you compare barrel diameters, heat ranges, and materials (ceramic vs. titanium) when choosing a model to match your hair goals and health.
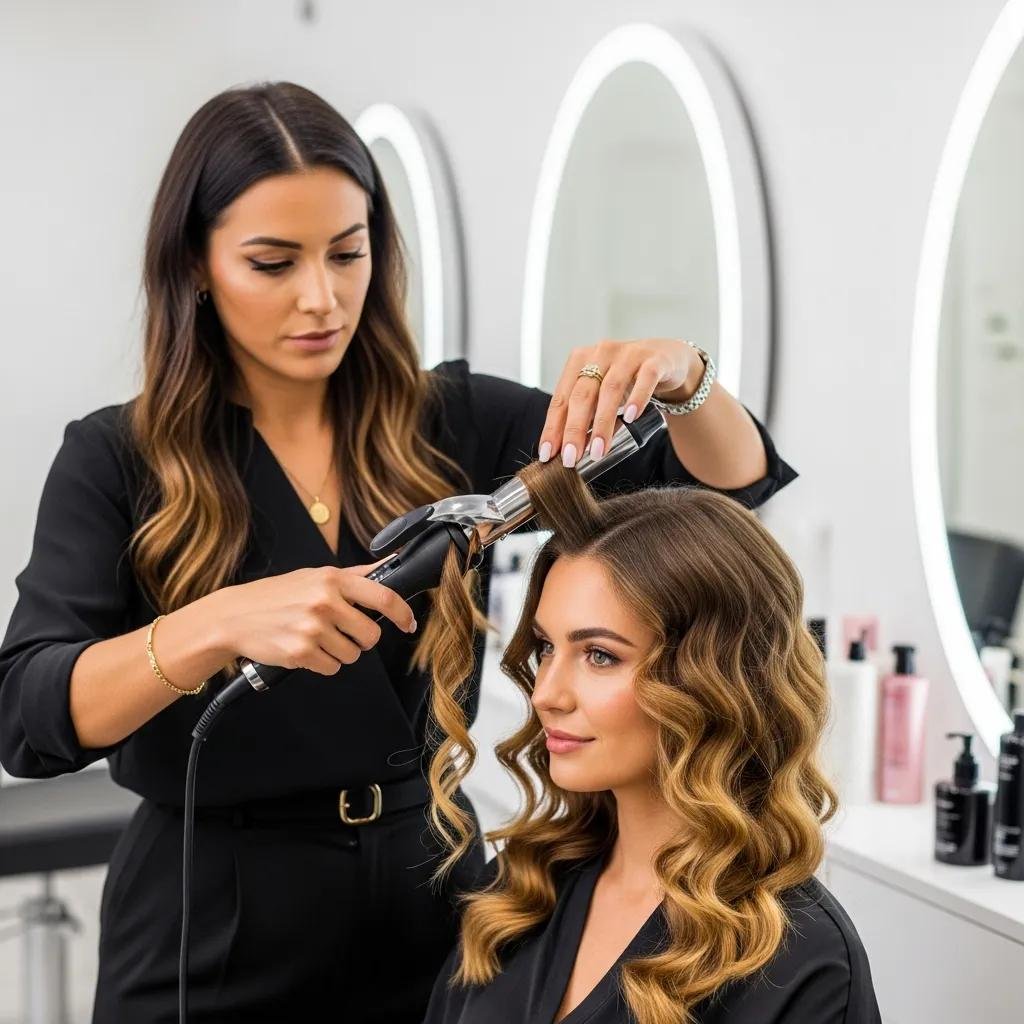
That said, technique still matters. A tool can standardize wrapping, but how you section, which products you use, and how you protect the hair determine the final look and health. At Kylie Studio Salon we teach the same basics—precise sectioning, correct heat, and professional finishing—so clients can recreate salon looks at home with less damage. Ruth, our owner-operator, stresses that steady technique plus the right tool is the most reliable path to long-term results, whether you want everyday waves or event-ready curls.
Key Features of Automatic Curling Irons: Heat, Barrel Size, and Materials
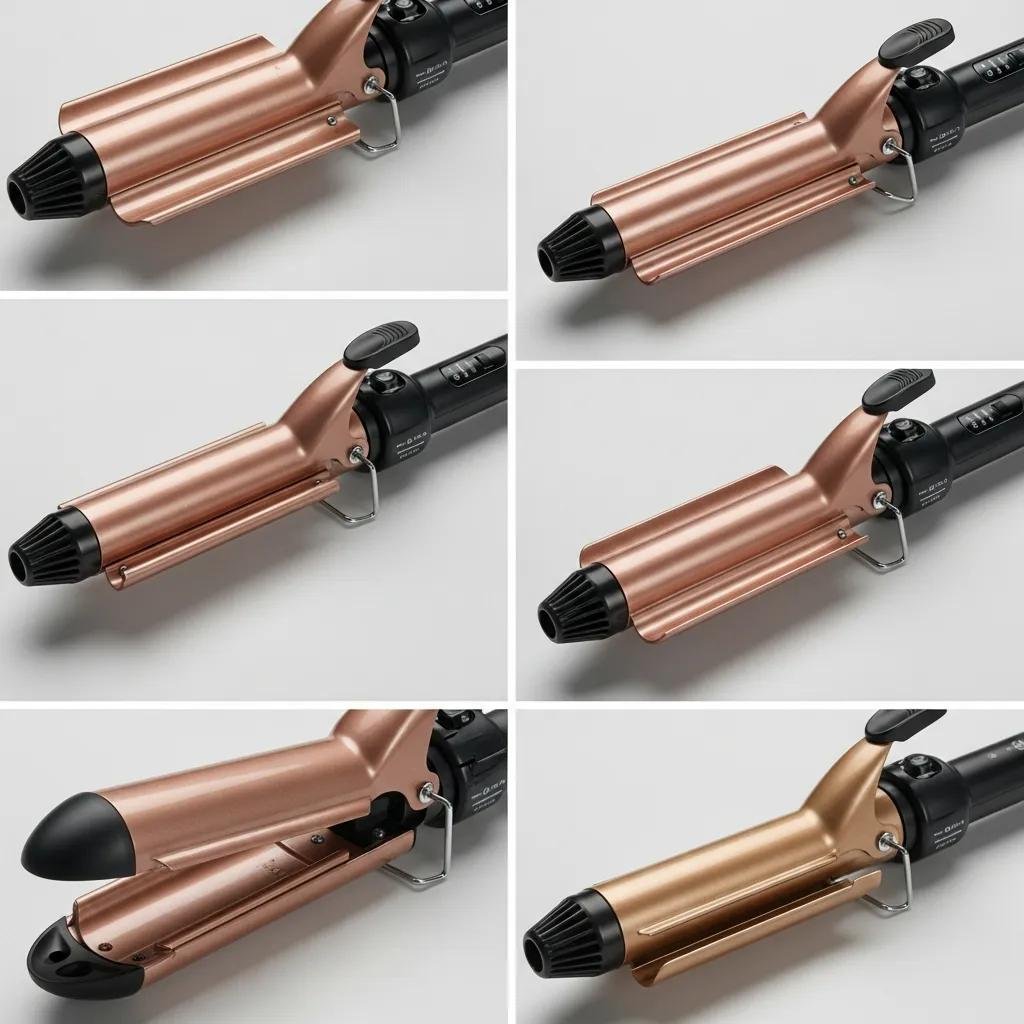
Automatic curlers differ in heat settings, barrel diameter, and construction material—and each factor affects curl shape, hold, and hair safety. Heat range determines how quickly a curl sets: lower settings (about 250–300°F equivalent) are kinder to fine or chemically treated hair, while higher temperatures help thick or coarse hair hold a curl. Adjustable controls let you match temperature to texture and porosity. Barrel size defines the curl: small barrels (0.5–0.75 inch) give tighter curls, medium barrels (1–1.25 inch) create classic curls, and larger barrels or wand-style attachments produce loose waves. Materials matter too: ceramic and tourmaline give even heat and help reduce frizz, while titanium heats fast and holds temperature for denser hair. Weighing these trade-offs helps you prioritize hair health, speed, and the type of curl you want. From there, auto-rotation and chamber design translate those specs into consistent results—and point out common user errors to avoid.
- This list highlights three essential features to evaluate before buying:
Heat control: choose adjustable digital temperatures for precision.
Barrel size: match diameter to your desired curl tightness.
Material: prefer ceramic/tourmaline for frizz control and even heat.
These three features make up the core checklist that guides product choice and in-salon technique for repeatable results.
How Automatic Curlers Create Consistent Curls and Waves
Automatic curlers control three variables—section width, rotation/timing, and thermal profile—to produce consistent shapes across multiple passes. Tulip-style chambers tuck hair into a guarded cavity to prevent tangles and ensure even contact with heat, while rotating-barrel systems wrap hair externally and let you switch rotation direction for a more natural flow. Typical user mistakes are taking sections that are too large (which prevents full heat penetration) or using excessive heat on fine hair (which can leave hair limp or frizzy). Fixing those by working smaller sections and reducing temperature improves consistency. Quick troubleshooting: test one section and adjust the dwell time by 1–2 seconds for your hair’s porosity, and alternate curl direction every few sections to avoid a uniform “ringlet” look. These practical insights help you pick the right model and dial in technique for salon-caliber outcomes.
Which Are the Top Rated Automatic Curling Irons in 2024?
In 2024, automatic curling irons range from cordless convenience and simple chamber designs to premium multi-stylers that pair airflow with curling. Below are standout options that reliably cover common hair goals and budgets, with a one-line pro for quick decision-making. We prioritize reliability, hair-health features (ceramic/tourmaline surfaces, adjustable heat), and real-world ease of use for beginners and pros. After the quick list, we add stylist observations that explain who benefits most from each model and how to use them practically.
- CHI Spin N Curl — Reliable chamber design ideal for steady, repeatable curls.
- TYMO CurlPro — Fast rotation and ionic tech for smoother finishes.
- Dyson Airwrap — Versatile multi-styler that combines airflow shaping with curling.
- Conair Curl Secret — Budget-friendly auto curler for quick, consistent results.
This short top-picks round narrows your choices; the next table gives quick specs for side-by-side comparison before we move into stylist micro-reviews.
Intro to product specs table: The following table summarizes core attributes like barrel size, heat range, cordless capability, and ideal hair type to make scan-and-compare decisions easier.
This side-by-side comparison clarifies which models trade speed for versatility and which prioritize simple, predictable results. Next, stylist micro-reviews explain performance nuances and offer practical usage tips.
Stylist’s Review of CHI Spin N Curl and TYMO CurlPro
The CHI Spin N Curl behaves like a dependable chamber curler—safe, consistent, and forgiving—which makes it a great fit for clients who want reliable results with minimal learning. We recommend medium heat and small-to-medium sections to form curls without over-processing. The TYMO CurlPro skews toward speed and a polished finish: quick rotation plus ionic tech helps reduce frizz on medium to thick hair and cuts down on finishing work. For both tools, stylist tips include pre-drying hair to around 95% to avoid steam damage, always using a heat protectant, and alternating rotation direction every two sections for a more natural result—techniques we teach in-salon and recommend for at-home practice.
Comparing Dyson Airwrap and Conair Curl Secret: Features and Benefits
The Dyson Airwrap is a premium multi-styler that shapes hair using airflow and controlled heat, so you get variety with less direct surface temperature—good for anyone worried about heat damage who wants multiple looks. The Conair Curl Secret is a focused, chamber-based tool at an accessible price, giving beginners predictable curls with a short learning curve; it’s best for occasional styling rather than daily heavy use. From a stylist’s point of view, choose the Airwrap for versatility (smoothing, volumizing, curling) and fine-tuned finish control; choose Conair when you want simplicity and value. Maintenance also differs: multi-stylers need careful cleaning of attachments, while single-purpose curlers are lower maintenance but less adaptable—think about how you live and style when you choose.
How to Choose the Best Automatic Curling Iron for Your Hair Type and Skill Level?
Picking the right automatic curler comes down to three linked factors: hair texture and length, the curl shape you want, and your comfort with styling controls. Match barrel diameter and heat control to hair porosity and thickness to reduce damage and extend the life of the style. The section below maps hair types and skill levels to recommended features and models, followed by a quick-reference table so you can decide based on attributes instead of brand alone.
Selecting Based on Hair Type: Fine, Thick, Short, or Long Hair
Fine hair benefits from lower temperatures and ceramic or tourmaline surfaces that spread heat gently and help control frizz—work in smaller sections and keep dwell times short to avoid over-processing. Thick or coarse hair usually needs higher heat and sometimes titanium parts for steady temperature; calibrate section size and timing strand by strand. Short hair does better with compact chambers or small barrels and quick-release timing to prevent tangles, while long hair shines with larger barrels or multi-styler attachments that create flowing waves. Stylist tip: always test a small strand first and adjust heat and timing based on how that curl sets—this avoids surprises and protects hair.
Beginner-Friendly Automatic Curlers: What to Look For
If you’re new to automatic curlers, prioritize safety and simplicity: look for auto shut-off, tangle-prevention sensors, and clear digital timers so the learning curve is shorter and the risk of damage is lower. Choose devices with intuitive controls, anti-tangle chamber designs, and unambiguous feedback (beeps or lights) when a cycle finishes—those features let you focus on sectioning and finishing instead of fiddling with settings. Predictable results come from a user-friendly mechanism plus a simple maintenance routine—clean the chamber and check sensors regularly. Pick models reviewers call “forgiving,” and start at lower heat until you learn timing and section size; that builds confidence and protects your hair.
What Are the Pro Tips for Using Automatic Curling Irons to Achieve Salon-Quality Results?

- Prep thoroughly: apply a heat protectant and make sure hair is dry to the device’s recommended level before styling.
- Section methodically: consistent, small sections equal consistent curls.
- Finish strategically: let curls cool, set with a light-hold spray, then brush or finger-comb for soft waves.
Those three steps lead into the more detailed prep and curling techniques below.
Preparation and Heat Protection Techniques
Start by choosing the right heat-protectant and making sure hair is dry at the level your curler recommends—leftover moisture can create steam and uneven heat. Apply a thin, even layer of protectant from mid-lengths to ends, comb through, and give it a moment to absorb. Dry and section hair cleanly, clipping away worked areas to avoid reworking and heat fatigue; use smaller sections for fine hair and slightly larger sections for thick hair. If you’re unsure about hair condition, opt for a lower temperature and increase dwell time a little rather than jumping to max heat—this cautious approach reduces cumulative thermal stress.
Curling Techniques and Finishing Tips from a Professional Stylist
Direction, timing, and cooling are the backbone of pro curling: alternate curl direction in small groups to mimic natural movement, keep sections taut but not overstretched during the wrap, and always let curls cool completely in their shape before releasing. A pro trick is to pin cooled curls near the scalp for 5–10 minutes to lock the pattern and boost longevity; then gently brush or finger-comb for a softer, salon-finished look. Finish with a lightweight flexible-hold spray for movement or a dab of shine serum on the ends for gloss without weight. Troubleshooting: lower the heat if curls go limp, tighten sections for curls that won’t hold, and use a quick low-heat blast from a dryer to reactivate a set curl before reworking.
- Do: alternate rotation direction, test one section first, and cool before brushing.
- Don’t: use maximum heat by default, cram oversized sections, or reheat the same spot repeatedly.
These practical rules translate salon technique into repeatable steps for home users and help you decide when a pro appointment is the smarter choice.
How Do Automatic Curling Irons Compare to Professional Salon Services?
Automatic curlers are great for consistent, quick styling for everyday looks and short-term events, but salon services still offer tailored solutions for complex textures, repair, and long-lasting durability that tools alone can’t match. The advantages of at-home automatic curlers are convenience, lower per-use cost, and the chance to practice skills. The downsides are limits on corrective color/texture work and the risk of cumulative heat exposure without professional treatments. Salons offer professional-grade products, expert sectioning, and treatments—like keratin smoothing or specialized blowouts—that extend curl life and protect hair structure. For big events or restorative needs, a salon visit is often the wiser investment. Below we outline scenarios to help you choose DIY versus pro help and include a local CTA for readers wanting salon services.
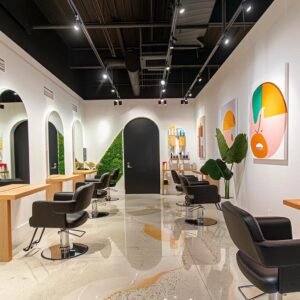
When to Choose At-Home Curling Tools vs. Visiting Kylie Studio Salon
Choose at-home tools for everyday waves and short-term styling, especially once you’ve mastered sectioning and heat control. Opt for a salon visit when you need texture correction, deep conditioning, a custom blowout, or professional treatments that reduce the need for frequent high-heat styling. Kylie Studio Salon serves as both a service provider and an education resource—many clients learn to use tools during a blowout and leave with a personalized styling plan to reproduce salon results safely at home. If your priority is minimizing damage while still looking polished for an important event, schedule a professional styling consult so we can match tool use with salon-grade treatments.
How Salon Blowouts and Styling Enhance Curl Longevity and Hair Health
Salon blowouts and styling use professional drying techniques, precise sectioning, and layered product application to create a pre-shaped base that holds curls longer and reduces the direct heat needed during curling. Professionals place smoothing serums, thermal protectants, and flexible-hold sprays in a specific sequence to maximize shine and durability while limiting cuticle stress. If you heat-style often, salon treatments like keratin smoothing or deep-conditioning protocols can rebuild strength and elasticity so curls hold better and hair resists breakage. Our approach at Kylie Studio Salon blends professional treatments with an at-home maintenance plan to extend style life and protect hair—giving clients a practical balance of convenience and long-term resilience.
- Professional sectioning and heat management reduce damage.
- Salon-grade products increase curl retention and shine.
- Treatments like keratin improve hair strength for frequent styling.
This comparison helps you decide when expert service is the smarter investment versus routine at-home curling with an automatic tool.
Frequently Asked Questions
1. Can automatic curling irons be used on all hair types?
Yes—automatic curling irons work on most hair types, but you should choose a model that matches your texture and condition. Fine or damaged hair does best with lower heat and ceramic surfaces to minimize harm. Thicker or coarser hair may need higher temperatures and titanium barrels to hold the curl. Always consider porosity and thickness when selecting a curler to get the best results.
2. How do I maintain my automatic curling iron?
Regular maintenance keeps your curler working well. Clean the barrel and chamber to remove product buildup and stray hairs—use a soft cloth or brush and follow the manufacturer’s cleaning instructions. Inspect the cord for wear and avoid wrapping it tightly around the device when storing. Proper care prolongs performance and safety.
3. Are there any safety features to look for in automatic curling irons?
Yes—look for automatic shut-off (in case you forget to turn it off), tangle-prevention sensors, and heat-resistant materials or cool tips for safer handling. These features reduce the chance of burns and make styling more comfortable and secure.
4. How long do curls typically last when using an automatic curling iron?
Curl longevity depends on hair type, humidity, and product choice. Curls can last a few hours up to a couple of days. To extend wear, use a light-hold hairspray after styling, avoid touching the curls excessively, and start with well-prepped hair and a heat protectant.
5. Can I use an automatic curling iron on wet hair?
No—don’t use an automatic curler on wet hair. Moisture can cause uneven heat transfer, steam, and potential breakage. Most devices are designed for dry hair, so make sure your hair is fully dry and protected before styling.
6. What is the best way to section hair for curling?
Section hair into manageable pieces—usually 1 to 2 inches wide, depending on thickness—and secure the rest with clips. Smaller sections give tighter curls; larger sections yield looser waves. Clean, consistent sectioning ensures even heat and uniform curls.
7. How do I troubleshoot common issues with automatic curling irons?
If curls aren’t holding or hair is tangling, start by checking your section size—too large a section prevents full heat penetration. Verify you’re using the right heat for your hair type: lower for fine hair, higher for thick hair. If curls fall flat, try a styling product for hold and always let curls cool before touching them.
Conclusion
Automatic curling irons make it easier to recreate salon-quality curls at home by removing much of the guesswork and reducing common styling problems like inconsistency and unnecessary heat damage. By understanding heat settings, barrel size, and material choices, you can pick a tool that fits your hair type and styling goals. Use the tips here—prep correctly, section carefully, and finish like a pro—to elevate your at-home styling. Ready to explore our curated picks? Discover the top-rated automatic curling irons and find the one that helps you get salon results at home.
